Printing Functional Replacement Parts for Vintage Sewing Machines
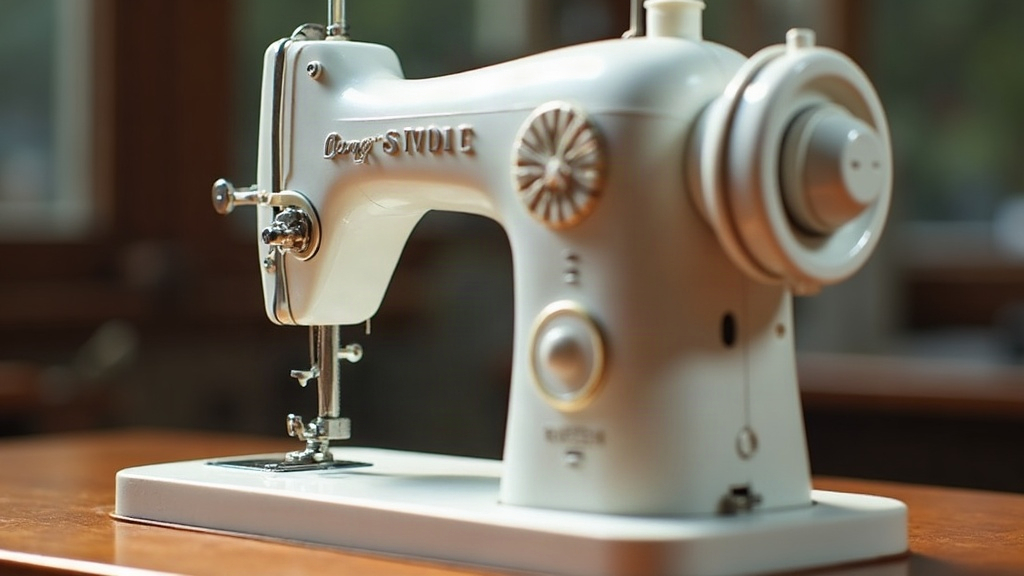
Printing functional replacement parts for vintage sewing machines has quietly become one of the best uses for a home 3D printer. Restorers scan a worn gear or a cracked bobbin case, run it through nylon or PETG, and bring back parts that haven’t shown up in a catalog since the Johnson administration. This guide covers the actual workflow: measuring the original piece, picking a material that won’t fail in six months, and printing something that survives being used every day, not just once for a photo.
Why Vintage Machines Need 3D Printed Parts
A Singer 15-91 or a Featherweight 221 will often outlast and outperform a modern plastic-bodied machine, mechanically speaking. The problem is that the companies who built them stopped stocking spare parts decades ago. The usual failure points:
- Bobbin winder tires that crack and crumble with age
- Gears (especially the nylon ones from the 1960s-70s) that strip or shatter
- Belt guides, spool pins, and thread guides that snap off
- Knee levers and foot pedal linkages that wear thin
When you can actually find an original replacement, it often costs more than the machine did. More often, it just doesn’t exist anymore. 3D printing fills that gap, on your own schedule.
Step 1: Capture Accurate Dimensions
You can’t print what you haven’t measured properly. Three methods work:
- Calipers and manual CAD - fine for simple parts like spool pins or thread guides. A digital caliper accurate to 0.01mm, paired with Fusion 360 or FreeCAD, gets the job done.
- 3D scanning - better for curved, complex parts like gear housings. Entry-level scanners (Revopoint, Einscan) can capture the tooth profile of a worn gear well enough to reverse-engineer it.
- Photogrammetry - handy when the original part is already in pieces. Take enough photos from enough angles and software reconstructs the shape digitally.
For gears, count the teeth and measure outer diameter and bore carefully. Gear mesh tolerance is brutal. Even 0.2mm of error and you get skipping or jamming.
Step 2: Choose the Right Material
Not every filament belongs inside a moving mechanism. Match the plastic to the job:
- Nylon (PA12 or PA6) - the gold standard for gears and load-bearing parts. Low friction, high fatigue resistance, holds up to thousands of meshing cycles.
- PETG - a solid middle ground for brackets, guides, and housings that need a little flex without turning brittle.
- ABS - tolerates the mild heat near motor housings, but you need an enclosed printer or it’ll warp on you.
- Skip standard PLA for anything that moves. It’s brittle and softens under friction heat. Fine for a cosmetic cover or a test fit, not much else.
For gears under real torque, print in nylon, drop the layer height to 0.1mm, and slow the print speed around the teeth so you don’t lose dimensional accuracy right where it matters most.
Step 3: Design for Strength, Not Just Shape
A straight one-to-one copy of a broken part usually breaks again, in the same spot, for the same reason. A few small tweaks buy you years:
- Add small fillets at stress points where the original had sharp corners
- Bump wall thickness by 10-15% where the part isn’t visible anyway
- Orient the print so layer lines run perpendicular to the load, not parallel to it. This one change makes a huge difference on gears and levers.
- Use 100% infill on small functional parts. The extra print time is a few minutes; the strength gain is real.
Step 4: Post-Processing for a Proper Fit
Printed parts rarely drop in perfectly straight off the bed. Expect to:
- Lightly sand mating surfaces (bobbin cases, shafts) for a better fit without taking off too much material
- Put a drop of light machine oil on nylon gears to cut friction and noise
- Drill bores slightly oversized if they need to spin freely, then test-fit against the actual shaft
Real Examples That Work Well
- Bobbin winder tire replacement rings printed in TPU solve the classic crumbling-rubber-tire problem on Singer machines, and solve it well
- Thread guide clips print reliably in PETG, no post-processing required
- Internal nylon timing gears are harder to get right, but doable with careful calibration and a good nylon filament, Taulman Bridge or Nylon 910 for instance
When Not to 3D Print
Some parts just aren’t good candidates. Precision tension springs, hardened steel shafts, feed dogs that see heavy daily wear, anything needing true metal-on-metal durability, is better off sourced or machined properly. 3D printing is great at replacing geometry. It’s not a substitute for metallurgy.
Conclusion
Print functional parts for a vintage sewing machine and you’ll find it’s a genuinely effective restoration method, as long as you match material to job, measure carefully, and build small improvements into the original design instead of copying it blindly. Start with low-stress parts, guides, covers, spool pins, to build confidence. Once your calibration is dialed in, move on to gears and other mechanical pieces. Get it right and a machine that’s eighty years old can keep stitching for another eighty.